
Quick Start
From a fresh install to the first reward coupon in a few minutes.
- Install and activate the plugin and your license as described above.
- Go to WooCommerce > SmartCouponX. On the General tab make sure Enable SmartCouponX is ticked.
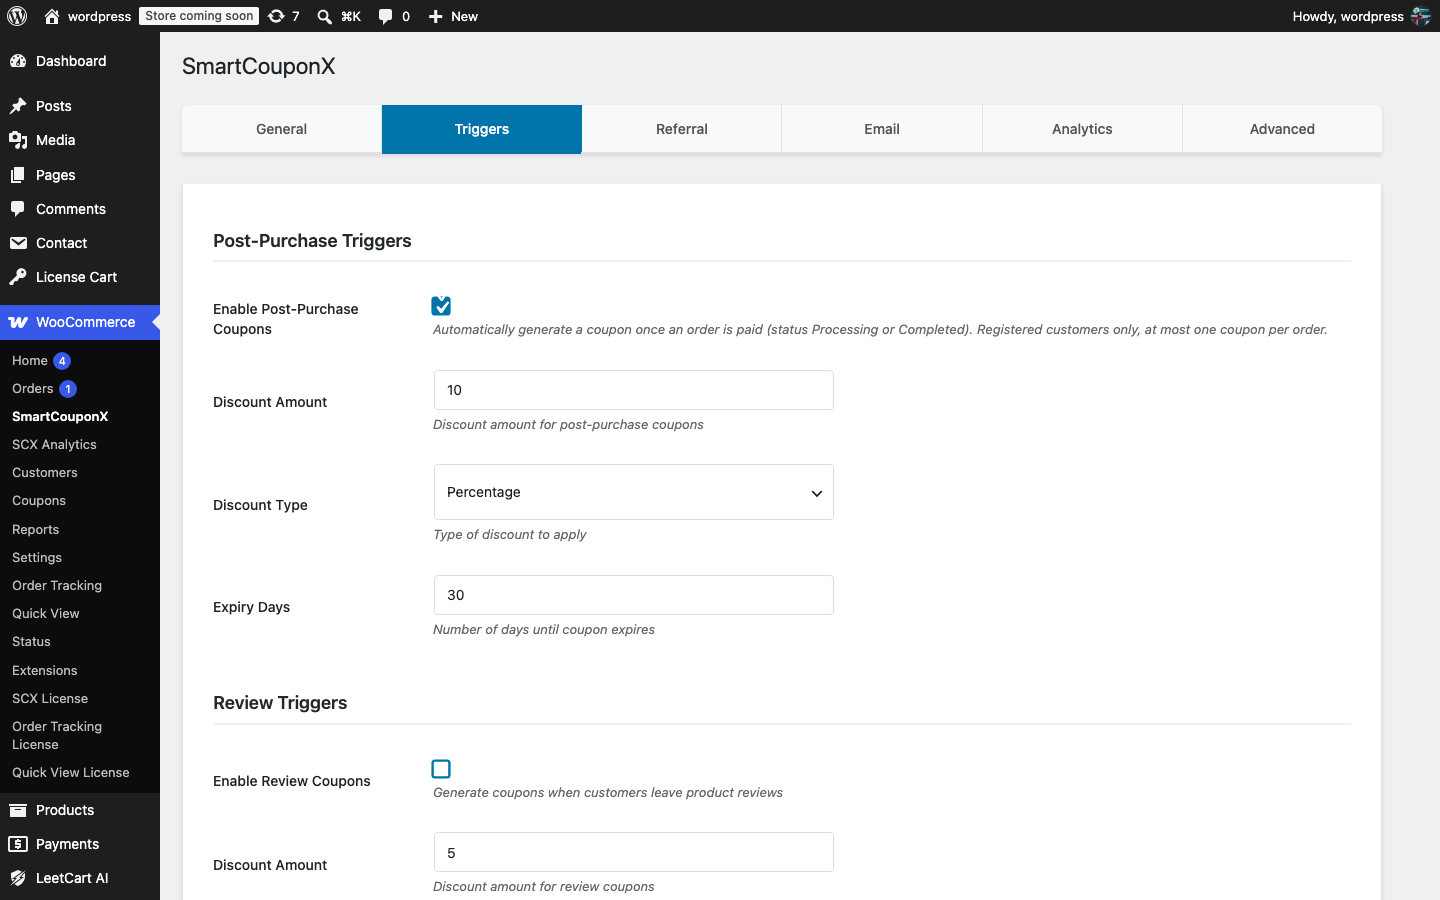
- Open the Triggers tab. Enable Post-Purchase Coupons is already ticked; set the Discount Amount (for example
10), the Discount Type (Percentage) and Expiry Days (for example30). - Open the Email tab and set the From Name and From Email Address your customers should see.
- Click Save Settings.
- Log in to your shop as a test customer, place an order and mark it Processing or Completed in WooCommerce > Orders.
- The customer receives an email with a coupon code such as
POST_AB12CD34EF, and the coupon appears under My Account > Dashboard as Your Active Coupons. - Open WooCommerce > SCX Analytics to see the coupon counted under Coupons Generated.
To test without placing a real order, enable Registration Coupons and create a new customer account. The welcome coupon is sent immediately.
Was this article helpful?
Tell us what was missing