
Quick Start
From a fresh install to a shopper’s first conversation in eight steps.
- Install and activate WooCommerce, then install and activate LeetCart AI for WooCommerce (see Installation).
- Go to LeetCart AI → License, paste your key and click Activate.
- Go to LeetCart AI → Connections. Choose your Provider (OpenAI, OpenRouter or Anthropic), paste your API Key and keep the recommended Model. Click Save Changes at the top right.
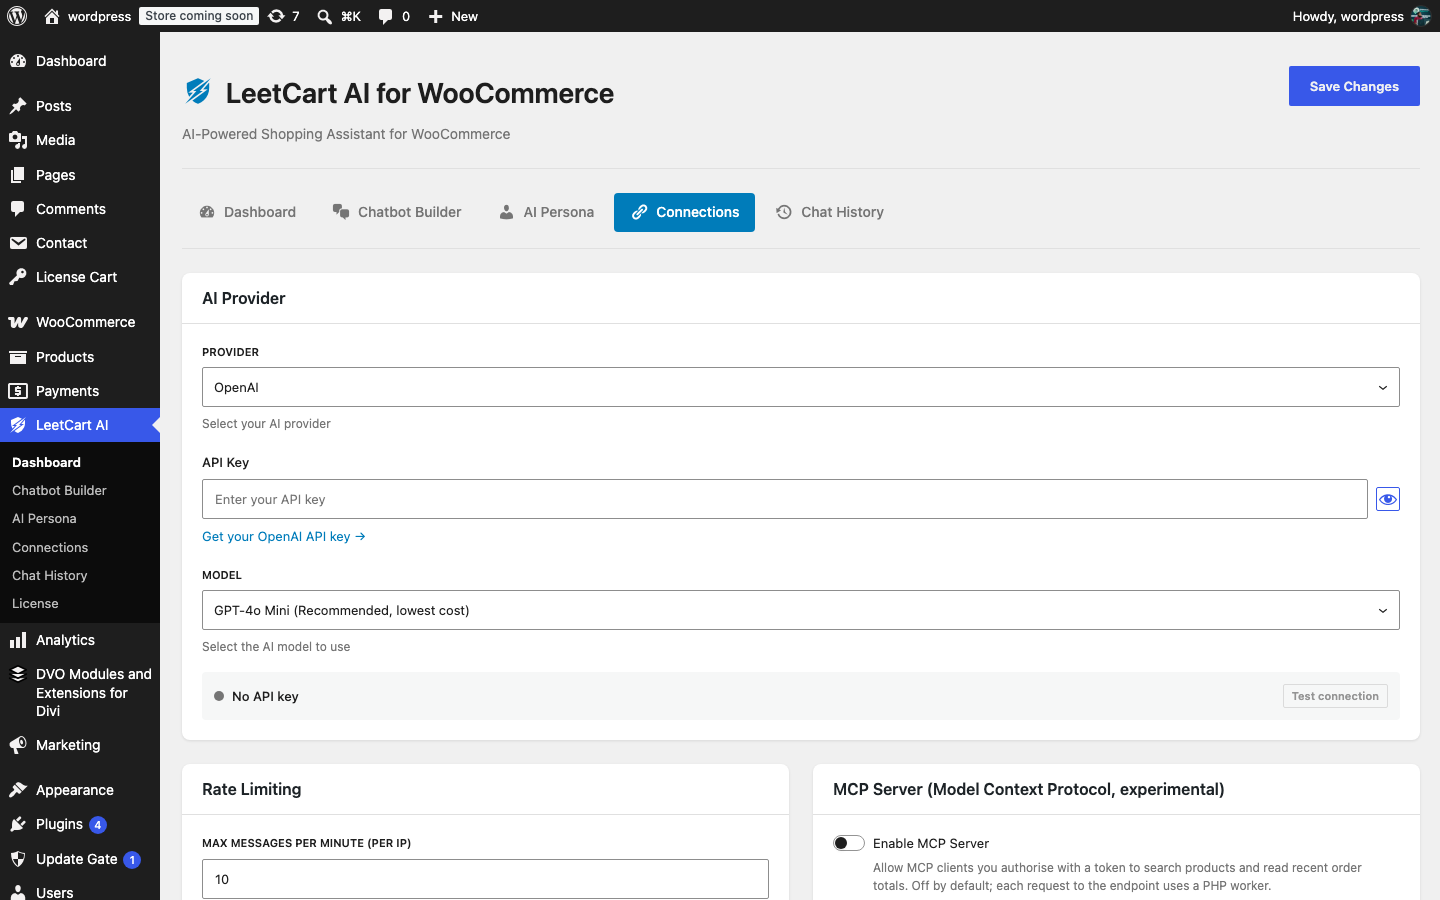
- Click Test connection. You should see “Connection successful. The provider accepted the API key.”
- Go to LeetCart AI → AI Persona and paste your shipping and returns policies into Store Policies & Information. Click Save Changes.
- Go to LeetCart AI → Chatbot Builder, pick your Primary Color and write a Welcome Message. The Live Preview on the right updates as you type. Click Save Changes.
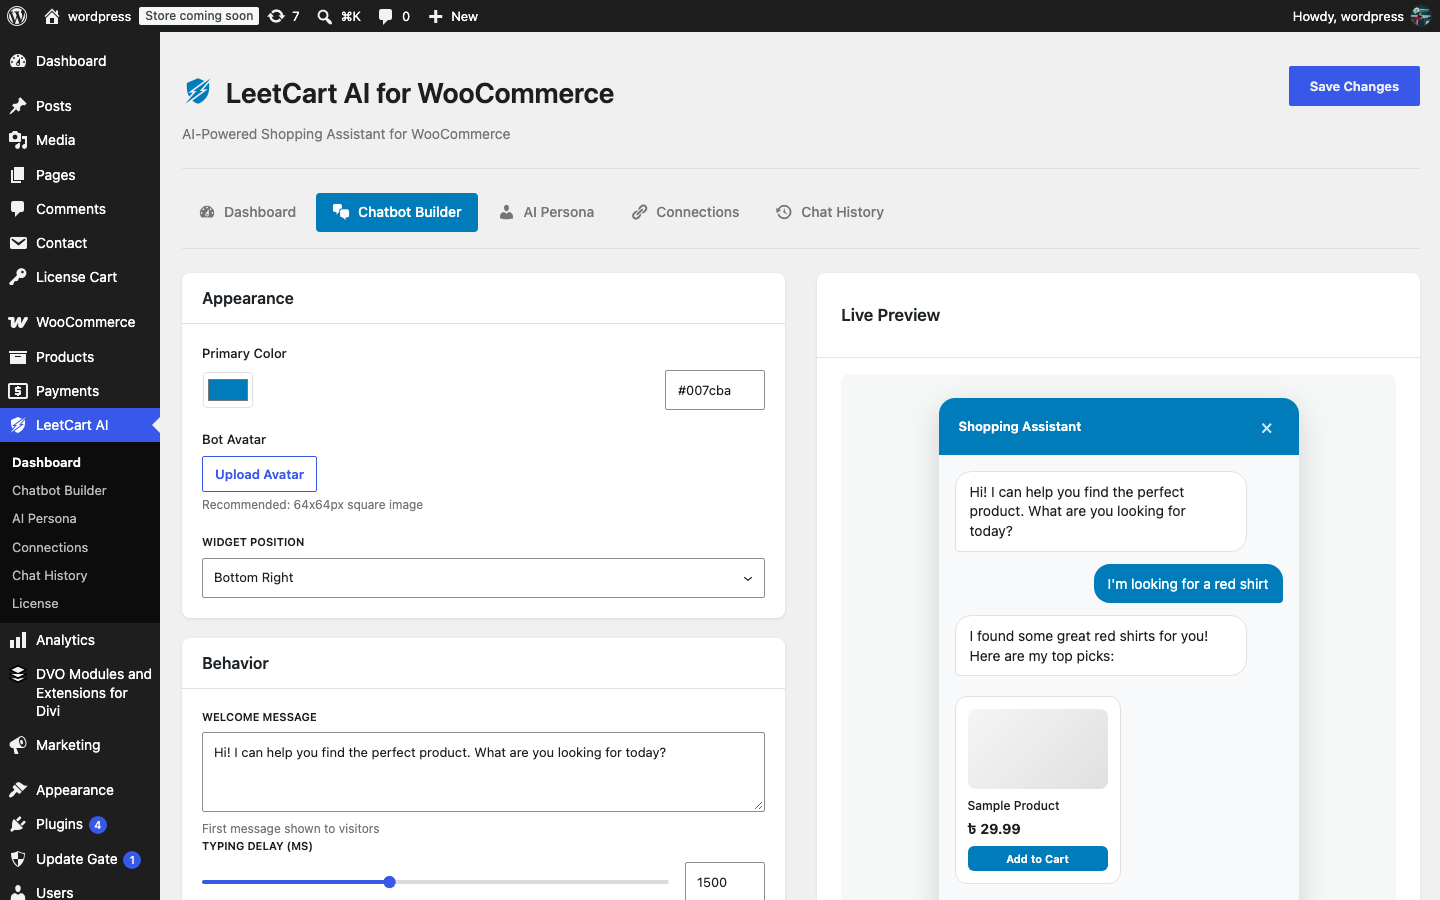
- Open your store in a new tab. The chat button sits in the bottom corner of every page. Click it and ask for a product, for example “show me shirts under 30”.
- Back in WordPress, open LeetCart AI → Dashboard to see the conversation counted and LeetCart AI → Chat History to read it.
Keep the default Max Messages Per Minute (per IP) of 10 under Connections → Rate Limiting until you know how busy the assistant gets. It is the main guard against someone running up your AI bill.
Was this article helpful?
Tell us what was missing