
Quick Start
The shortest path from a fresh install to a working quick view button.
- Install and activate the plugin as described in Installation.
- Go to WooCommerce → Quick View License, paste your license key and click Activate. The screen shows Status: Active together with the expiry date and the number of activations left.
- Go to WooCommerce → Quick View. Leave the defaults for now: the button text is “Quick view”, it is placed after the add to cart button and every modal element is switched on.
- Click Save Changes.
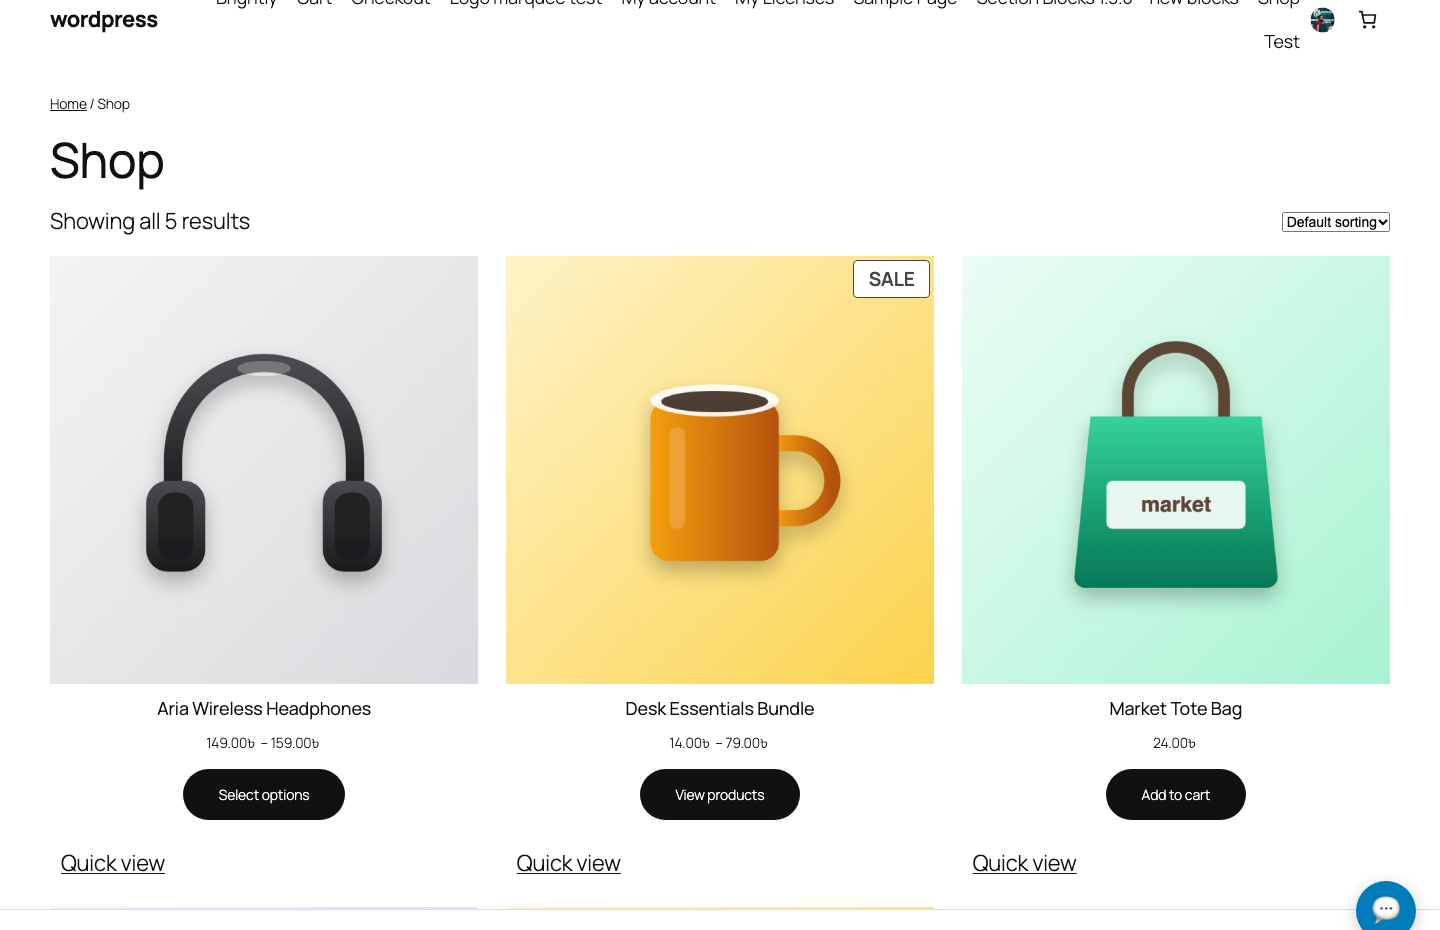
- Open your shop page in a new tab. Every product in the listing now has a “Quick view” button next to its add to cart button.
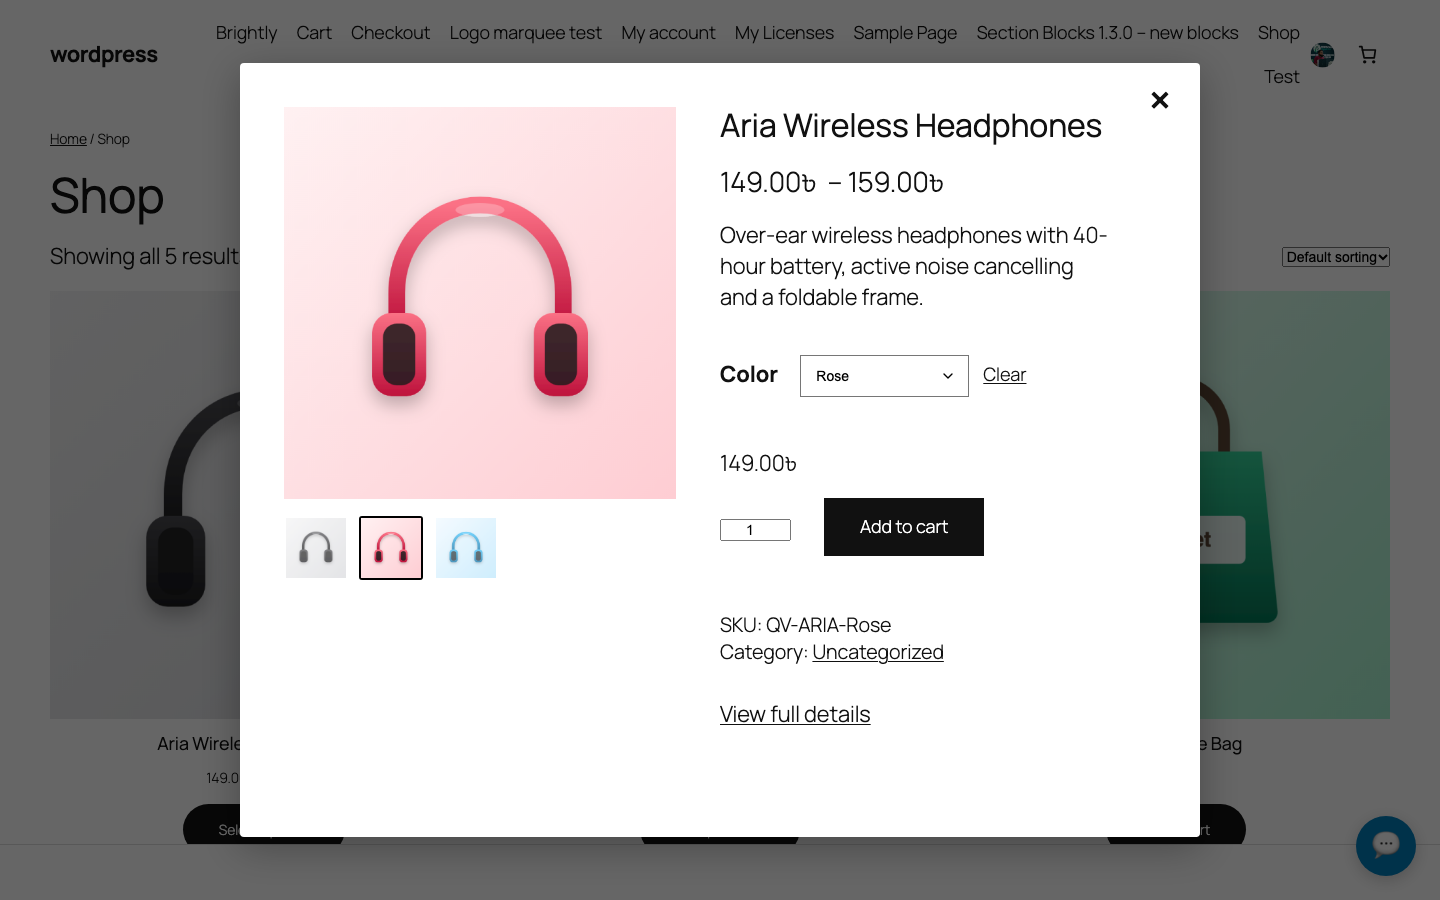
- Click the button. A modal opens with the product image, name, rating, price, short description and the add to cart form.
- For a variable product, pick a variation and click Add to cart. The item is added over AJAX, a View cart link appears, and the cart icon or Mini Cart in your header updates.
- Press Escape or click outside the modal to close it. Focus returns to the button you clicked.
If you use a page cache (WP Rocket, LiteSpeed Cache, a host-level cache), clear it after activating the plugin so the cached shop pages pick up the new button.
Was this article helpful?
Tell us what was missing